
Well hi there, lovelies! I’m Tricia Clarke, and what a treat to be asked to join you here, in Style and in Sanity. By now, you probably love Alice, and her ability to translate trends into what’s wearable for your real life. I LOVE makeup and exploring makeup trends. I could easily spend an hour creating a picture-perfect face that requires 25 different brushes and 40 products and makes a great Instagram post. But here’s the thing. That’s not my real life. Like many of you, I am juggling a child, our first home, my business, and so many other things. I get excited if I get to take a shower in peace! So where does that leave a makeup lover? Well, since becoming a mom, I’ve learned how to streamline my approach to beauty. I still wear makeup almost every day–but I have created a 5-minute face, instead of a 45-minute face. And when it comes to makeup trends I like to play around with what’s current, but keep it in perspective.That brings me to the whole point of this post. I am sure that by now you have heard about contouring. I get asked about it all the time! Most of the dramatic contouring that you see takes about an hour to apply, blend and set. I don’t know about you, but I don’t have that kinda time!
The whole point of contouring and highlighting is to enhance your natural features. Take a minute and close your eyes, then smooth your hands over your face like the models do in commercials for face wash. (You know what I’m talking about!) You will feel that some parts of your face stick out, and other areas recede. In contouring, a cream or powder a few shades darker than your natural skin tone is applied to areas that you want to recede further, most commonly under the cheekbones, the jaw line and the sides of the nose. In highlighting, you want to bring other areas forward–so a lighter shade of cream or powder, oftentimes with a slight shimmer is applied to the tops of the cheekbones, down the bridge of the nose, and on the brow bone.
Now that you have a quick overview , let’s talk about what works for every day! You can do a quick contour, a fast highlight, or a super easy combo–depending on how much time you have an what look you are going for. I ‘ll give you some scenarios, inspired by real life!
- Scenario 1 – Quick Contour: You over-indulged while watching football and, you’re a little bit paler than you would prefer, because, you know, it’s February. You should go for a quick contour! After you’ve applied your foundation or BB Cream and dusted your face lightly with setting powder, you are ready to sculpt! Grab your bronzer (preferably one without a ton of shimmer, I like Benefit Cosmetic’s Hoola powder or Tarte’s Amazonian Clay bronzer) and a medium sized, natural bristle brush. You don’t want a massive brush for this! Envision a “3” on the side of your face. You are going to apply a light application of bronzer along your hairline (sweeping out from the center of your forehead) then swing the brush down to make a soft line from the front of your ear to right under where you apply your blush–so right along the bottom edge of your cheekbone(that was the top curve of the “3”) . Then, retrace your stroke back out towards your ear, then swing your brush around your jaw and blend just under the edge of your face, sweeping down to your chin.

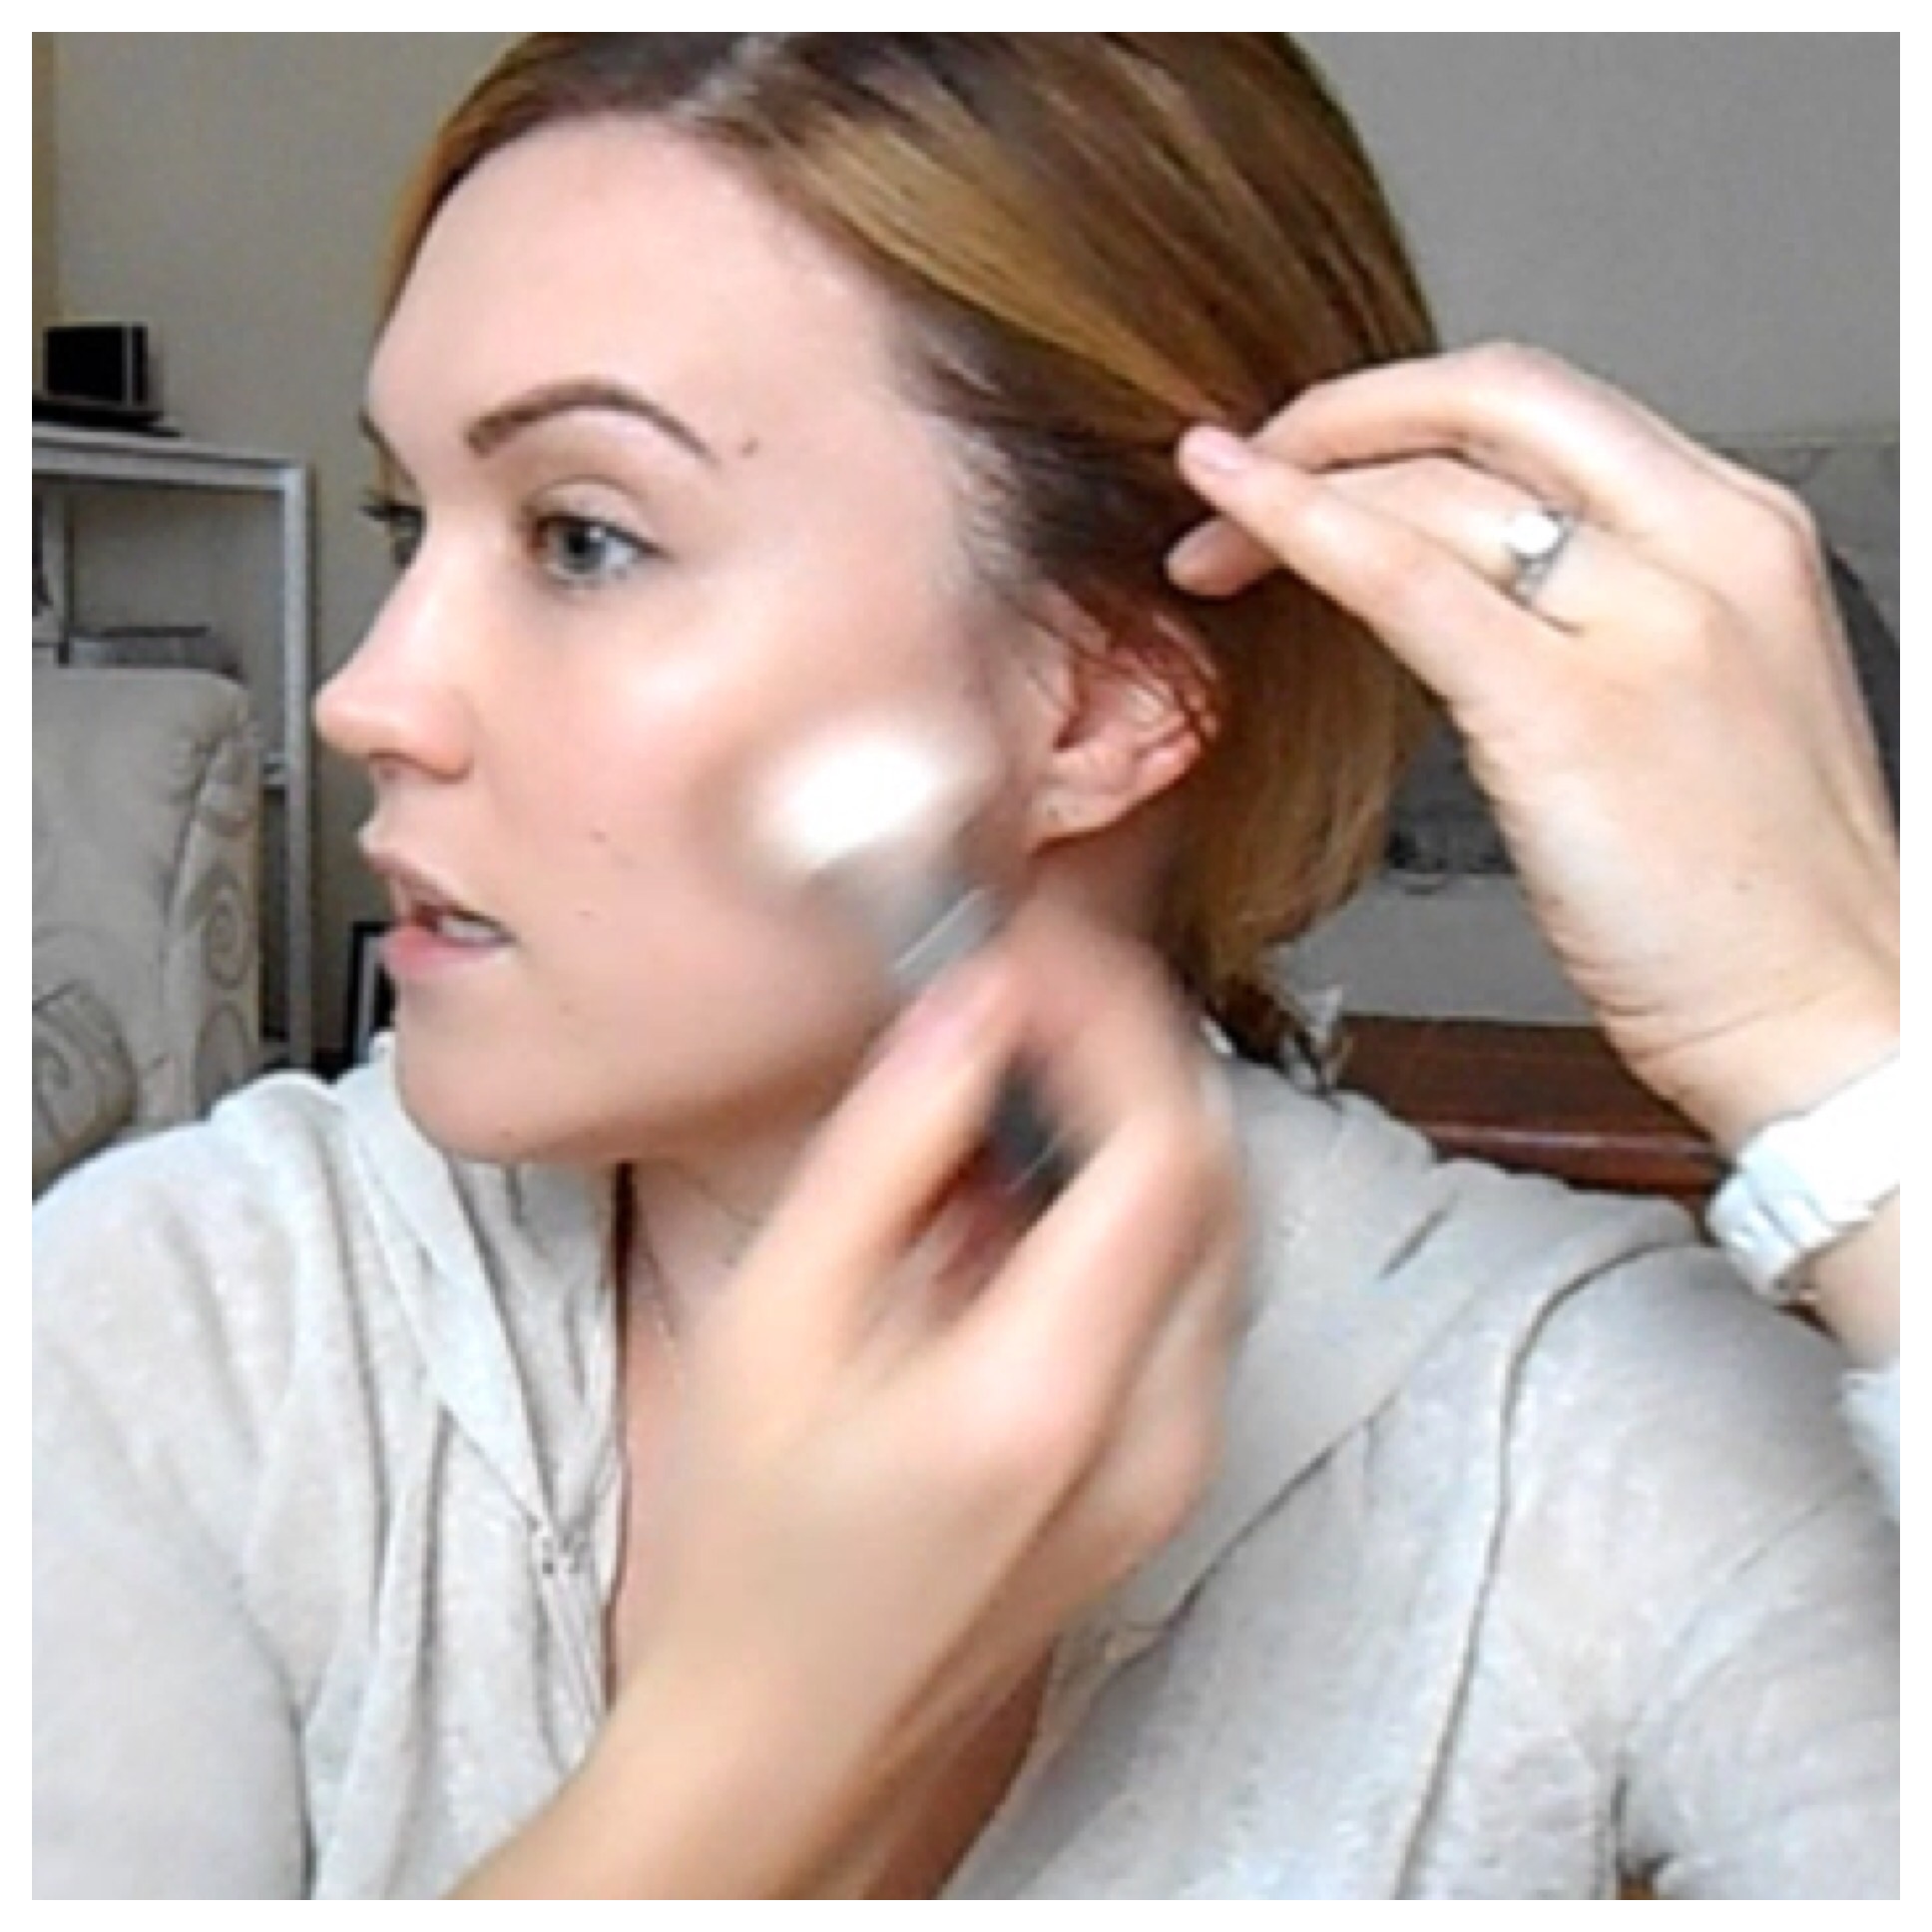
- Scenario 2 – Fast Highlight: Thanks to your teething baby, you forget what it’s like to get a full night’s sleep, and the exhaustion is showing on your face. Highlighting to the rescue! After prepping your skin with moisturizer and eye cream, blend a cream blush onto the apples of your cheeks and blend back towards your ears. Then, apply a cream or stick highlighter (NYX Born to Glow comes in a range of shades to suit all skin tones and has some glow to it, if you want more subtle, Bobbi Brown’s Tinted Undereye Brightener is a fave) in the following areas: along the top of your cheekbone, your brow bone and on the inner corners of your eyes, blending VERY thoroughly. You will look radiant and well-rested.

- Scenario #3 – Super Easy Combo: You have a Girls’ Night Out or Date Night Planned, and you want to amp up your regular makeup look. Easy! Combine your new bronzing “3” technique with your strategic highlighter placement and boom! I would also suggest adding a pop of bright gloss to your lips and a few extra coats of mascara, or an eyeliner in a fun shade like teal or purple, or even gold! Colorful makeup is trendy this season, and new formulas keep you from looking like an 80s prom photo!


Now, that’s a lot of words to explain something that’s actually really simple! Wouldn’t a video make things easier? Well, lucky for you, I cover easy contouring and highlighting in my Naptime Waffle #2 video on YouTube! A “waffle” is just a meandering chit-chat, so if you want to skip right to the contour how-to part, start at (2:42)
I hope that helped make the idea of contouring and highlighting seem more doable. Let us know if you try it! Thanks for having me here, Alice!
Find me at www.triciaclarkemakeup.com and www.instagram.com/triciaclarkemakeup

Hi! Thanks so much for the tutorial. I’m a girl who is wedded to her routine and products, so I haven’t tried contouring. I I have a silly question: Do you add blush over the 3″ area you applied the darker shade to?
LikeLike
Hi! I am just seeing your comment now, sorry for the delay! My blush does blend over the darker area slightly. And easy way to remember is to think of Neopolitan ice cream. There’s chocolate (your bronzer or contour color) strawberry (blush) and vanilla (highlight). They have to overlap and blend or you would wind up with stripes!
LikeLike
Neapolitan ice cream! Yes!!
LikeLike
Great tips, thank you!
LikeLike
Any time! 😂
LikeLike
Thanks, I totally needed this!
LikeLike
Right?! Me too! I love Tricia and her accessible approach to everyday makeup.
LikeLike